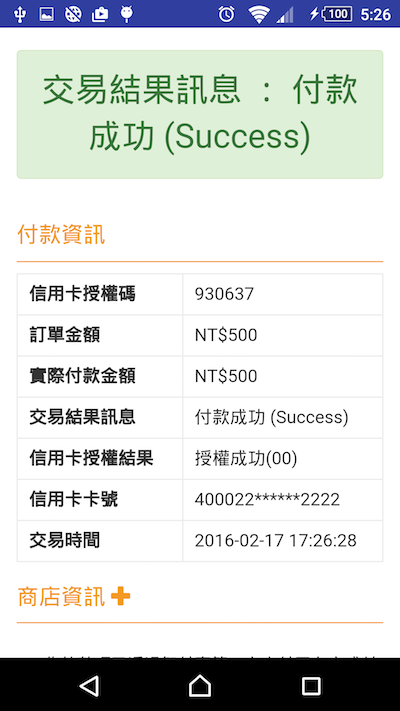
以智付寶官方API製成
放在Github上,有需要請自取:
https://github.com/lutas2000/Pay2Go-Android-Sdk
下一版將在WebView上加入return button,並編譯成aar
目前只連接MPG API,暫時不會加入其他API
一、申請支付寶帳號
正式網址:https://www.pay2go.com/
測試網址:https://cweb.pay2go.com/
註冊完帳號後在銷售中心開立一個商店
記下以下資訊:商店代號、hashKey、hashIV
測試網址:https://cweb.pay2go.com/
註冊完帳號後在銷售中心開立一個商店
記下以下資訊:商店代號、hashKey、hashIV
二、Import Module
在Android Studio -> File -> new -> Import module選擇pay2go資料夾
加入permission:
<uses-permission android:name="android.permission.INTERNET"/>
三、使用
在Activity中加入:
Mpg mpg = new Mpg(this);
// ============== 必填 =====================
mpg.setAmt(1000); //支付金額
mpg.setItemDesc("商品資訊");
mpg.setLoginType(false); //user是否需要登入支付寶
mpg.setShop("商店代號", "your hashKey", "your hashIV");
mpg.setMerchantOrderNo("自訂訂單編號");
mpg.setEmail("付款者emial");
mpg.setRespondType("JSON");
// ============== 選填 =====================
mpg.setCREDIT(true);
mpg.setWEBATM(true);
mpg.setCVS(true);
mpg.setVACC(true);
mpg.setTest(true); //設定使用test API,不填則使用正式API

mpg.start();


沒有留言:
張貼留言